
 |
| Family room |
 |
| Gaming room |
If this is something you might like to do in your own home I'm pretty sure anyone with basic carpentry skills, time and patience can do it too.
First things first, you must hang the wall mount, you have for your TV, in the location you want it. It always looks much better to run the cord(s) through the wall to an electrical outlet further down or into a proper device and make sure installation is up to code.
 |
| Here you can see the latte through the hole cut for our cords. |
Supplies you'll need:
- Mitre saw
- Table saw
- Level
- Drill with large hole cutting bit
- Air compressor
- Nail gun
- Square
- Stud finder
- Measuring tape
- Wood filler
- Caulking
- Front moulding according to your circumference measurements
- Plain boards for sides around the
To make a frame for the TV, you need to measure the perimeter of your TV, make a visit to your local hardware store and shop for some decorative moulding for the front and flat boards for the sides. You could do this with crown moulding however our TV is on a swivel mount and, consequently, it is already off the wall quite a bit, so I went with a wide flat moulding. This, I felt, coordinated well with the other wood details of the space.
Once you have everything picked out, measure the depth of your TV from the wall and cut your pieces for the sides and top. Keep in mind, the thickness of your decorative moulding to ensure the frame front stays flush with your TV. Run your plain boards on your table saw to get your desired width. If you are organized and this is a step you would like to avoid, you could ask at your hardware store and they would likely do this for you, for a small fee.
We used 5/8" MDF for the frame. We designed the frame to leave a 1/2" extra around the perimeter of the TV, to give it some breathing room and to accommodate the ability to tilt it to different angles for your viewing pleasure! I would also like to point out that you should construct the frame by overlapping the side pieces with the top and bottom pieces, as this will eliminate seeing side seams. Nail into place using 1 1/2" nails.
I apologize for the messy pictures to follow but sometimes when you are on a roll there is no time for clean up. It always gets worse before it gets better!
 |
| Step One |
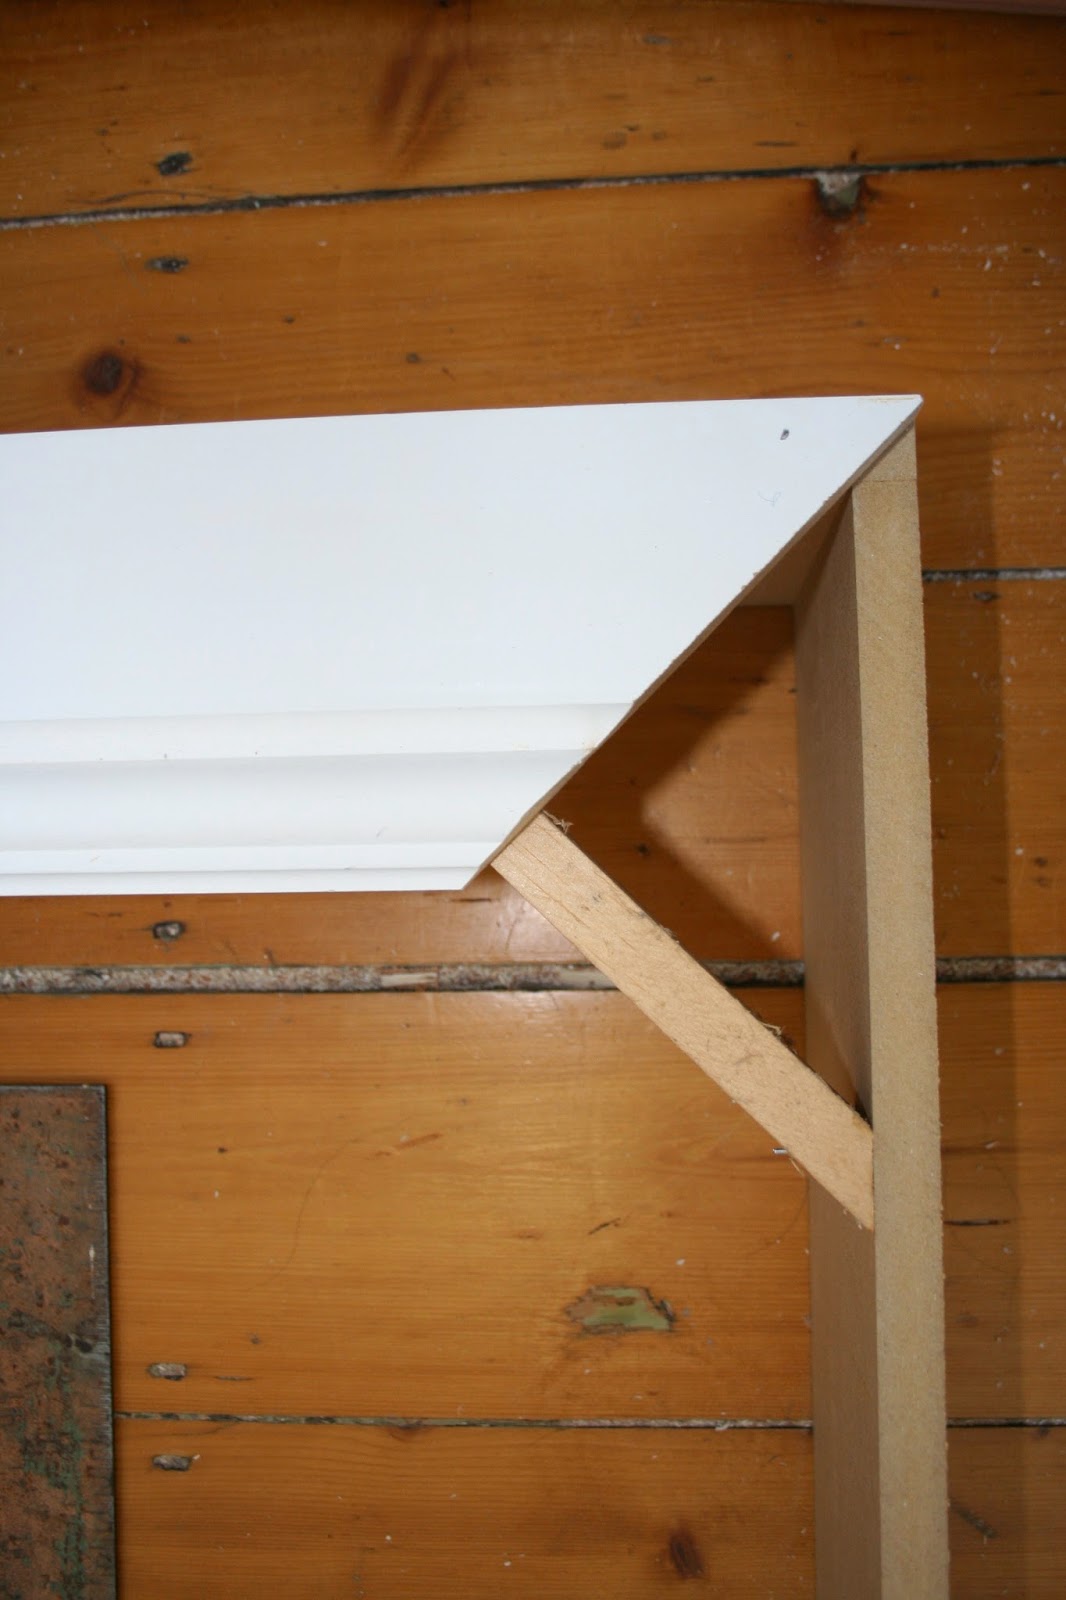
The next step is to cut some corner braces to help provide support for your frame. You want these braces to be long enough to give maximum support, but not so long that they will be seen when your moulding is put in place. We used 1"x2" pieces, cut at 7" long with 45° angles at each end.
It is best to put these braces toward the front of your frame. This will give you something to attach your decorative moulding to when you are at that step. Before you attach your braces, it is a good idea to double check that things are square. If so, go ahead and nail your braces to your box.
 |
| Step two |
 |
| Step three |
After the braces are attached make sure to measure twice and cut your decorative moulding with 45° corners. Secure these in place on the front by nailing into the top, bottom and side boards as well as the braces for added support.
 |
| Step four |


Once this is complete, fill your nail holes with wood filler and caulk the seams. Give it a light sanding to have the smoothest finish possible, and paint the inside before attaching your frame to the wall. This way whenever the screen is moved or tilted the inside will look finished.
Using a spade blade or a drill attachment to cut holes in the bottom and top to allow for air circulation.
 |
| Steps five, six and seven |
You also need to attach a piece of 2"x3" to the wall at the appropriate height to mount your frame. The length should be a little shorter then the top side of your frame. Next use a stud finder and screws long enough to hit the studs and attach securely. Make sure to paint this as well!
To secure the cabinet to the wall, sit it on top of the 2x3 using 1 1/2" screws.
 |
| Step eight |
 |
| Step nine |
If you were unable to hide your cords inside the wall you could always drill an extra hole in the bottom of your frame to allow the cords to run through.
All thats left now is to mount your TV. Voila! Congratulations you did it! Now put in a movie, and if you are anything like me, fall asleep because you are tired from a long day's work!
No comments
Post a Comment